E
Erum Tasneem
Guest
- Thread Author
- #1
Key Takeaways
Cardstock Color Integration: Colored cardstock acts as a natural mid-tone, reducing the need for heavy ink saturation while enhancing color depth.
Essential Swatching: Alcohol marker inks are translucent; always swatch on your target colored cardstock rather than white paper or marker caps.
Dimensional Shading: Heat embossing with Rose Gold creates sealed barriers, preventing marker bleed while adding metallic accents.
The Tip-to-Tip Technique: Transfer darker ink to a lighter marker tip for seamless, micro-shadow gradients on curled petals.

Have you tried using alcohol markers on colored cardstock instead of traditional white paper? Changing the color of your base paper can completely transform familiar marker combinations and give you a rich, pre-colored base to build your coloring on.
For today’s Creative Coloring with Erum project, I’m coloring the large floral image from the Flowers & Flourishes Stamp Set on Rouge Cardstock. By combining colors from two red marker families, we can create bright, dimensional flowers and deep foliage while allowing the Rouge Cardstock to remain visible as an active part of the color palette.
Let’s dive into the step-by-step technique for mastering alcohol marker coloring on colored cardstock!

VIDEO: Try Alcohol Markers on Colored Cardstock!
Watch the video tutorial below or CLICK HERE to learn more about this cardmaking technique! Or read step-by-step instructions after the video.
Step-by-Step Guide: Alcohol Marker Coloring on Colored Cardstock
Step 1: Stamp and Heat Emboss the Floral Image
Prep the paper: Apply an anti-static powder tool thoroughly across a piece of Rouge Cardstock to prevent stray embossing powder from sticking.
Stamp the image: Stamp the large floral image from the Flowers & Flourishes Stamp Set using clear Embossing Ink.
Heat-set: Cover the stamped image with Rose Gold Embossing Powder, tap off the excess, and melt the powder with a heat gun.
Why this works: The metallic rose gold outline adds a subtle, elegant detail while creating physical lines that help contain the alcohol ink. The rich red cardstock immediately takes center stage.
Step 2: Swatch Your Alcohol Markers on Colored Paper
Test before coloring: Because alcohol marker inks are dye-based and translucent, they look significantly different on colored cardstock than on white paper.
Create your palette: Test your marker colors directly on a scrap piece of Rouge Cardstock. For this project, test shades from the Red Cosmos and Red Sunset Artist Alcohol Marker families. This reveals which tones blend seamlessly and how light or dark they will appear on colored paper.
Selected marker combination:
For Flowers: Frosty Pink (light), Coral Berry (mid-tone), and Ruby Red (shadow).
For Deep Foliage: Crimson (light), Velvet (mid-tone), and Grapevine (deep shadow).
Tip: Keep your cardstock swatches on your desk as you color. They offer a far more accurate preview of your final result than marker cap colors or swatches made on white cardstock.

Step 3: Add the Mid-Tone to the Flowers
Start coloring the floral petals using Coral Berry, which acts as the mid-tone shade in this combination.
Apply the ink at the base of each petal and along folds, bends, dips, and overlapping sections.
Use light, flicking strokes, pulling the marker outward in the direction of petal growth. Keep your pressure light near the end of each stroke so the ink gently tapers out.
Step 4: Blend with a Lighter Alcohol Marker
Use Frosty Pink to extend and soften the Coral Berry strokes toward the tips of the petals.
Leave background cardstock exposed: You do not need to cover the paper completely or create a perfectly seamless gradient. Allowing the Rouge Cardstock to show through incorporates the paper's natural pigment into your finished design.
This is the primary advantage of alcohol marker coloring on colored cardstock: the paper itself acts as an additional color layer in your palette, cutting down on coloring time while increasing tonal depth.

Step 5: Deepen Shadow Placement for Realistic Volume
Apply Ruby Red to reinforce deep shadows at the base of the petals and under overlapping layers.
Smooth the transitions: To create stronger shadows, blend Ruby Red back out using Coral Berry. For a softer, lighter transition, blend it out using Frosty Pink.
Vary your shading intensity throughout the flower depending on light exposure. Petals tucked underneath should feature deeper shadows, while top petals remain brighter.
Build color gradually: Dye inks saturate paper quickly on colored cardstock. Build dark values in thin layers, as adding pigment is easy, but lifting excess alcohol ink without muddying the paper is difficult.
Step 6: Color Curled and Upturned Petals
Apply Frosty Pink to the lighter, upturned edges and curls of the petals.
Use the Tip-to-Tip (Kissing) Technique: Touch the tip of your Frosty Pink marker directly to the tip of the Coral Berry or Ruby Red marker to pick up a small amount of darker pigment. Color directly onto the curled edges.
As you color, the darker ink will gradually transfer off, creating a smooth, temporary in-between gradient without introducing another marker shade to your set.

Step 7: Color Rich, High-Contrast Foliage
Switch to the deeper foliage palette: Grapevine, Velvet, and Crimson.
Define structure: Start with Grapevine (the darkest shade) along the leaf midribs, main veins, base areas, and outer edges where shadows naturally fall.
Blend the leaves: Pull Velvet over the Grapevine strokes to extend the shading, leaving a small untouched area for the final shade. Finish with Crimson to pull the foliage palette together.
Keep some flicked marker strokes distinct rather than blending them completely smooth. These textural variations give the foliage a realistic, leaf-like appearance that contrasts sharply with the smooth floral petals.
Color the flower centers with your darkest shades to establish a striking focal point.
Step 8: Die-Cut and Assemble the Handmade Card
Die-cut the image: Cut out the completed colored floral image using the coordinating die.
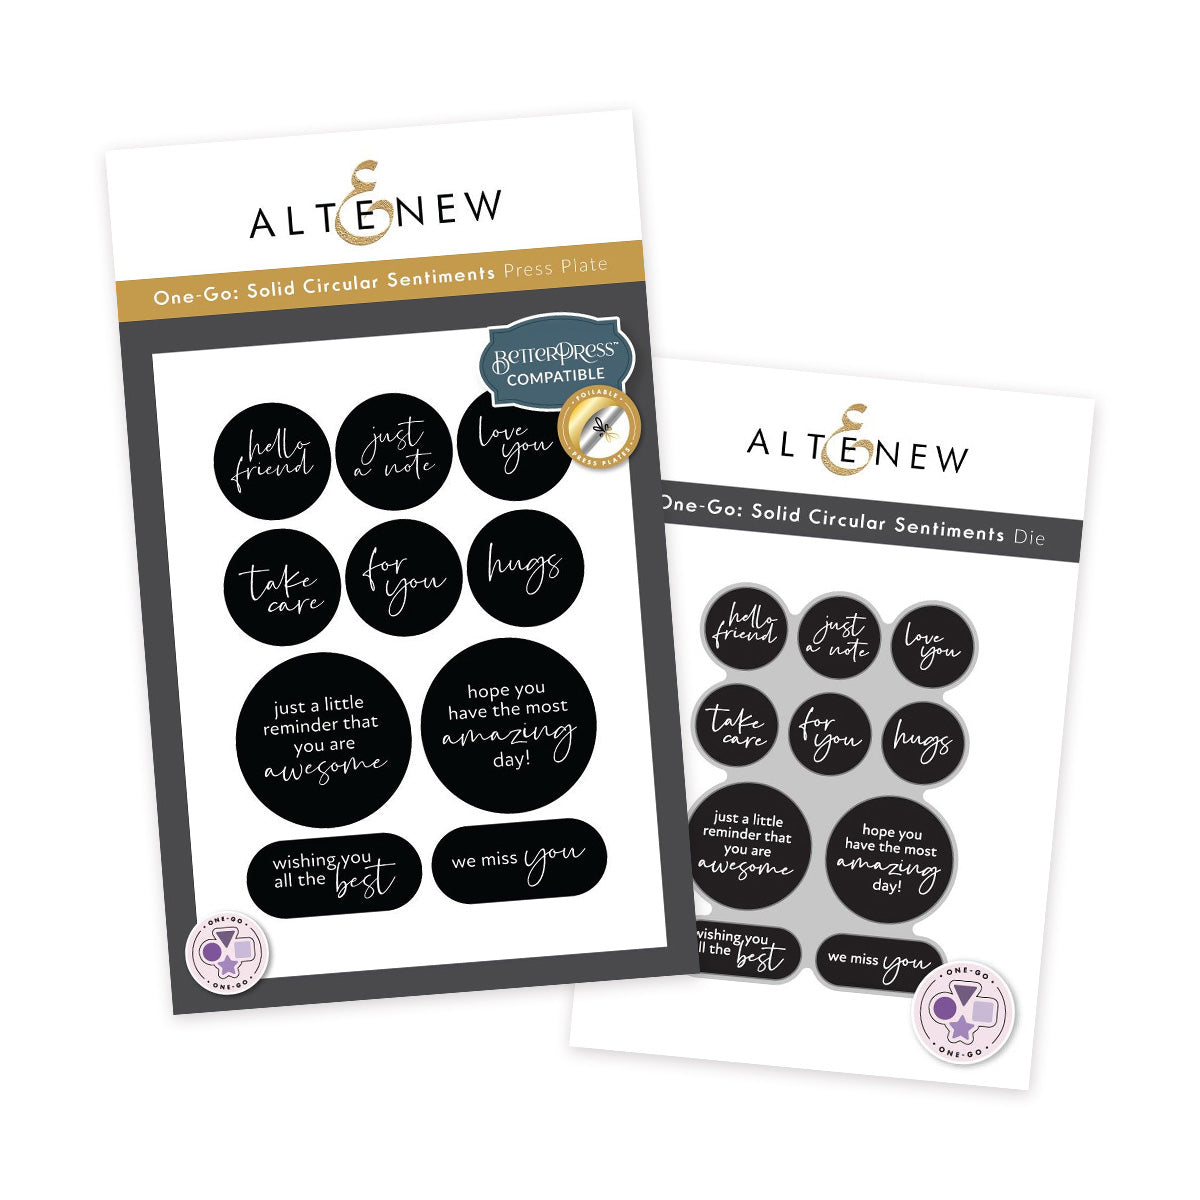
Prepare the sentiment: Stamp a message from the One-Go Solid Circular Sentiments using the BetterPress Letterpress System and Obsidian Pigment Ink. Cut it out with its coordinating die.
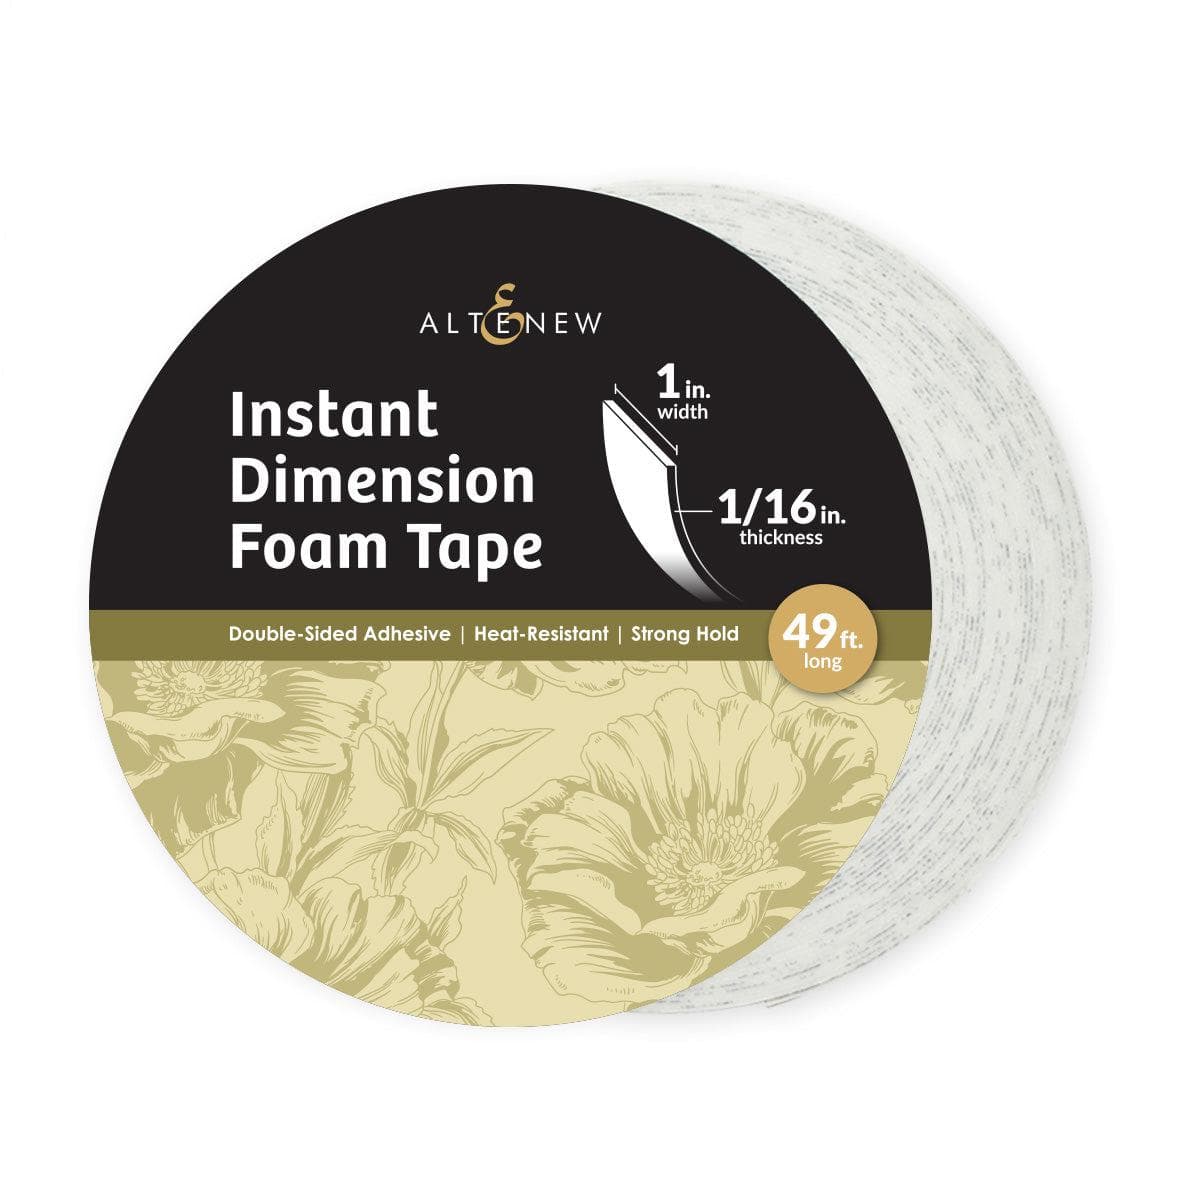
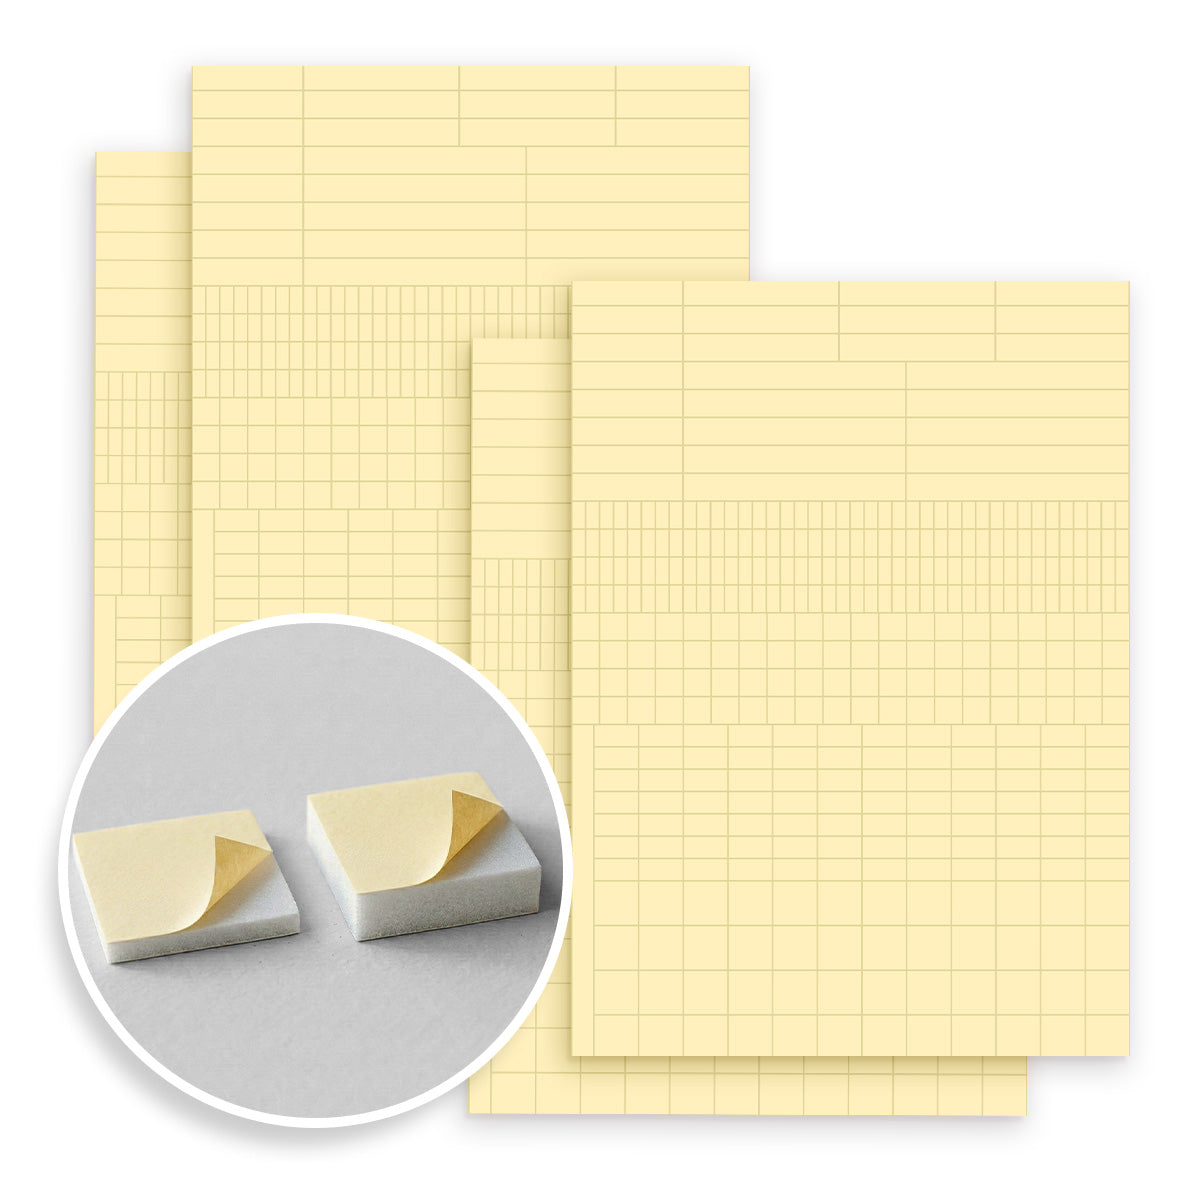
Mount the focal point: Adhere the colored floral image onto a clean Classic Crest Solar White Cardstock panel using Instant Dimension Foam Tape for structural elevation. Attach the circular sentiment over the arrangement with foam tape.
Add splatters: Use a 0.5 Fine Liner Pen to manually add controlled black splatters around the floral arrangement. Vary the dot sizes and cluster them randomly to mimic organic paint splatters.
Final presentation: Keeping the background crisp, white, and minimal ensures that your detailed alcohol marker coloring remains the undisputed star of the card.

Why You Should Try Coloring on Colored Cardstock
Coloring on Rouge Cardstock transforms standard alcohol marker inks. The lighter red markers keep the petals luminous and bright, while the deep red and violet shades create rich foliage with maximum visual contrast. Paired with Rose Gold heat embossing and a clean white background, this technique turns a simple floral stamp into a dramatic, professional card design.
Pull out a sheet of colored cardstock, pick a few alcohol markers, and create a test swatch today. You might be surprised by how dynamic your favorite marker shades look on colored paper!
Happy crafting!
SUPPLY LIST
[td] |

[td][/td]
[td][/td]

[td][/td]
[td][/td]
[td][/td]

[td][/td]

[td][/td]

[td][/td]
[td][/td]
[td][/td]

[td][/td]

[td][/td]